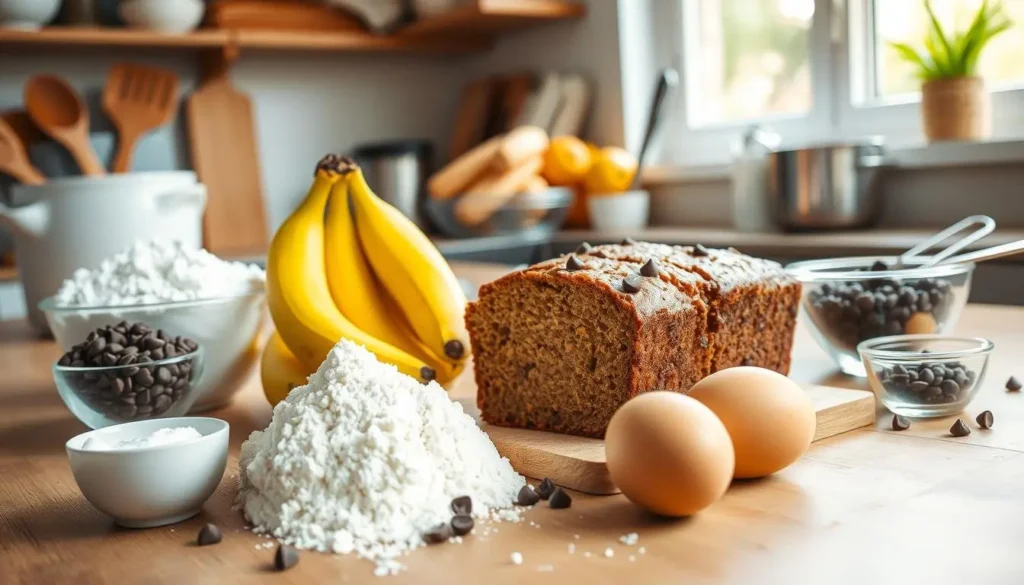
Ingredients
- 2 ripe bananas, mashed
- 1/2 cup melted butter
- 1 teaspoon vanilla extract
- 1 teaspoon baking soda
- 1/4 teaspoon salt
- 3/4 cup sugar
- 1 large egg
- 1 1/2 cups all-purpose flour
- 1/2 cup semi-sweet chocolate chips
- 1/4 teaspoon ground cinnamon (optional)
Instructions
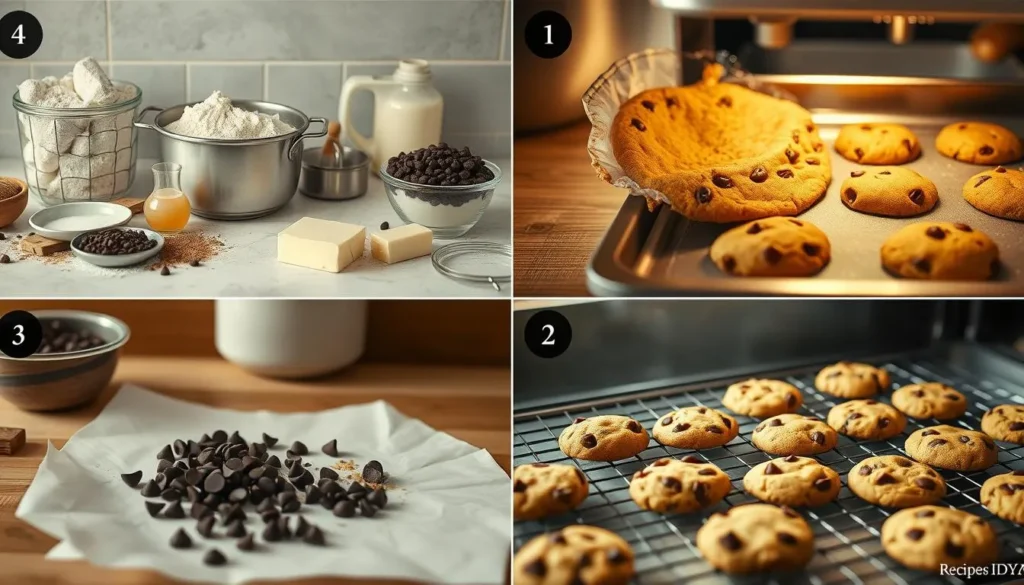
Preheat your oven to 350°F (175°C). Grease a 9x5-inch loaf pan or line it with parchment paper. In a large bowl, mash the bananas with a fork until smooth. Add the melted butter, vanilla extract, baking soda, salt, sugar, and egg to the mashed bananas. Stir to combine. Mix in the flour and ground cinnamon (if using), stirring until just combined. Do not overmix. Fold in the chocolate chips, ensuring an even distribution throughout the batter. Pour the batter into the prepared loaf pan and smooth the top with a spatula. Bake for 1 hour, or until a toothpick inserted into the center of the bread comes out clean. Let the bread cool in the pan for 10 minutes, then transfer it to a wire rack to cool completely.
Notes
If you prefer a sweeter banana bread, you can increase the sugar to 1 cup. You can add chopped walnuts or pecans for extra texture and flavor. Store leftover banana bread in an airtight container at room temperature for up to 3 days.
Table of Contents
Ever wondered how to turn simple banana bread into a chocolate chip dream? It’s not just about mixing ingredients. It’s an art that combines sweet bananas with rich chocolate for a homemade treat.
This guide will show you how to make a moist, flavorful banana bread with chocolate. It’s perfect for both new and experienced bakers. Our step-by-step will help you make a homemade banana bread that’s as good as any bakery’s.
Ready to make a chocolate chip banana bread that wows everyone? We’ll teach you how to pick the best bananas and mix them perfectly. You’ll learn all the secrets to baking an amazing loaf.
Key Takeaways
- Learn the secrets to creating a perfect chocolate chip banana bread
- Understand the importance of using ripe bananas
- Discover professional baking techniques
- Master the art of mixing wet and dry ingredients
- Create a moist and delicious homemade banana bread
Understanding the Magic of Chocolate Chip Banana Bread
Chocolate chip banana bread is a favorite quick bread recipe in American kitchens. It turns simple ingredients into a magical dish that adds warmth and joy to meals.
So, why do we love this moist banana bread so much? It’s because of its perfect mix of flavors and textures. Ripe bananas make it sweet, and chocolate chips add a rich twist.
“A slice of chocolate chip banana bread is like a warm hug for your taste buds” – Home Baking Enthusiast
- Combines classic comfort with indulgent chocolate
- Transforms overripe bananas into a delectable treat
- Perfect for breakfast, snack, or dessert
The best banana bread recipe is more than ingredients—it’s a culinary art. It connects generations, whether you’re new to baking or experienced.
Chocolate chip banana bread is more than food. It’s a nostalgic experience that brings people together. Every slice creates memories.
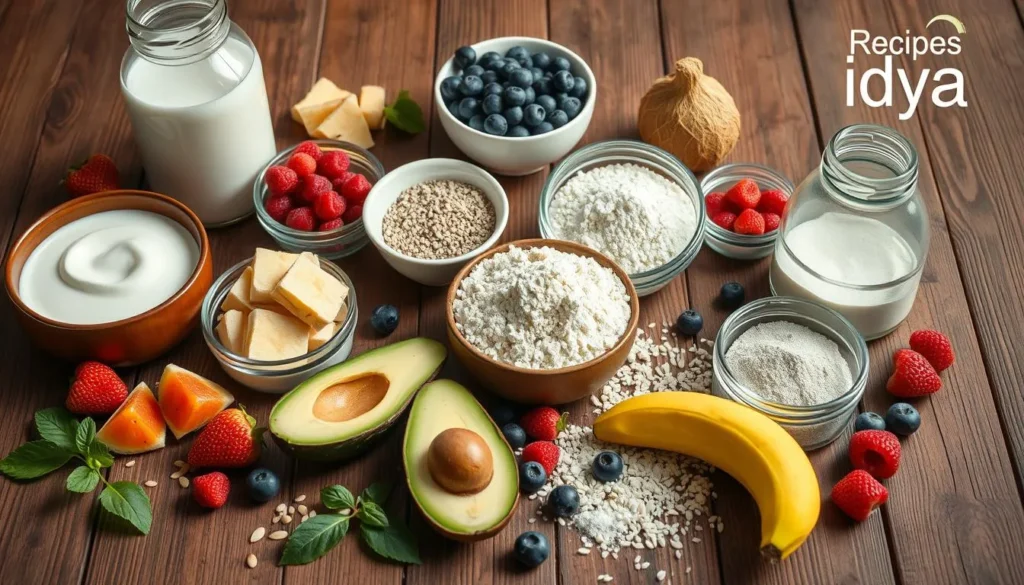
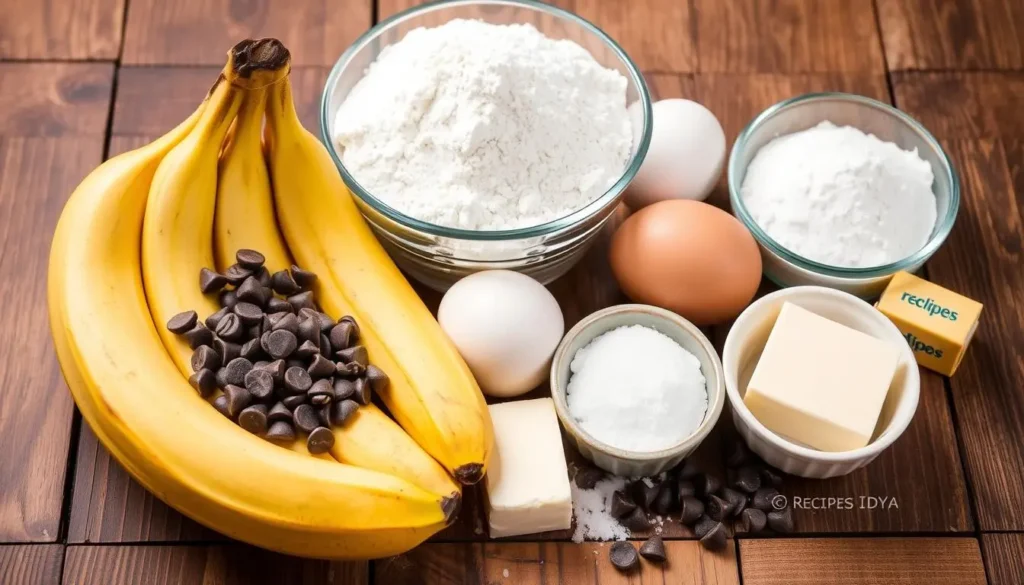
Essential Ingredients for Perfect Banana Bread
Making the best chocolate chip banana bread starts with the right ingredients. You need to pick the best banana bread ingredients and mix them just right.
Choosing the Right Bananas
For overripe banana recipes, you need bananas that are dark brown or almost black. They should be soft and mushy. These bananas add sweetness and moisture to your banana bread.
- Completely brown bananas
- Soft and easily mashable
- Strong sweet aroma
- No green or firm spots
Types of Chocolate Chips to Use
The type of chocolate chips you choose can make a big difference. Pick high-quality chocolate chips that match the banana’s sweetness.
| Chocolate Type | Flavor Profile | Recommended Use |
|---|---|---|
| Semi-Sweet Chips | Balanced sweetness | Classic chocolate chip banana bread |
| Dark Chocolate Chips | Intense, less sweet | Rich, complex flavor |
| Milk Chocolate Chips | Very sweet | Kid-friendly version |
Dry and Wet Ingredient Requirements
It’s important to balance dry and wet ingredients for the right banana bread texture. Precision matters when measuring each ingredient.
“Baking is a science, cooking is an art” – Unknown Baker
- Flour: All-purpose works best
- Baking soda: Helps bread rise
- Salt: Enhances overall flavor
- Eggs: Provide structure
- Butter: Adds richness
- Vanilla extract: Deepens flavor profile
Kitchen Tools and Equipment Needed
For successful banana bread baking, you need the right tools. Start by gathering essential equipment. This will make your baking smooth and fun.
- Large mixing bowl
- Measuring cups and spoons
- Loaf pan (9×5 inch recommended)
- Whisk or electric mixer
- Rubber spatula
- Cooling rack
- Parchment paper
“Good baking is about having the right tools and knowing how to use them.” – Professional Baker
Having the right tools makes baking chocolate chip banana bread easier. Each tool is important for a tasty, moist loaf.
| Tool | Purpose | Recommended Type |
|---|---|---|
| Mixing Bowl | Combining ingredients | Large stainless steel or ceramic |
| Loaf Pan | Baking bread | Non-stick aluminum, 9×5 inch |
| Measuring Tools | Precise ingredient quantities | Stainless steel cups and spoons |
Pro tip: Invest in quality baking tools for consistent, delicious results every time you make banana bread.
Preparing Your Kitchen for Baking
Baking with bananas needs careful preparation and a tidy workspace. A well-organized kitchen is key to making the best banana bread.
Before mixing, set up your kitchen wisely. A clean, organized space makes baking better.
Setting Up Your Workspace
- Clear your countertop completely
- Gather all ingredients and tools beforehand
- Measure ingredients in advance
- Place mixing bowls and utensils within easy reach
Temperature and Timing Considerations
Accurate temperature is crucial for baking. Room temperature ingredients mix better, especially for banana bread.
- Allow butter and eggs to sit at room temperature for 30 minutes
- Preheat your oven exactly 10 minutes before baking
- Use an oven thermometer to verify accurate temperature
Pan Preparation Tips
Right pan prep stops sticking and bakes evenly for your banana bread.
- Choose the right size loaf pan (9×5 inch recommended)
- Grease pan thoroughly with butter or cooking spray
- Line bottom with parchment paper for easy removal
- Dust sides with flour after greasing
“Preparation is the key to perfect baking” – Professional Baker’s Wisdom
Pro tip: Keep all your baking tools clean and organized to create a stress-free baking environment.
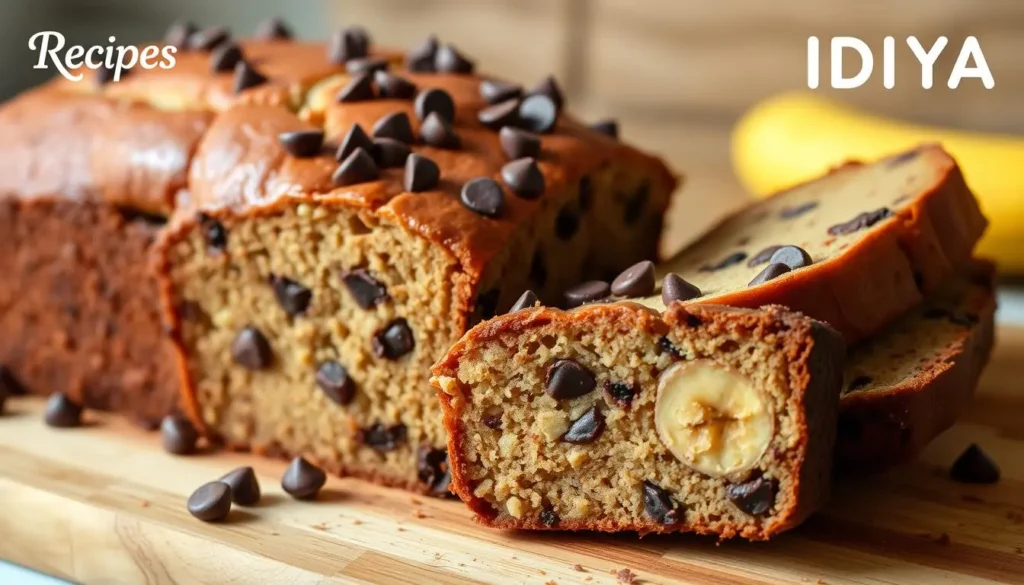
Chocolate Chip Banana Bread Recipe
Making the perfect chocolate chip banana bread is all about precision and passion. This homemade banana bread turns your kitchen into a cozy bakery. It fills your home with warm, inviting smells that promise tasty treats.
To make a moist banana bread that everyone will enjoy, you’ll need a few ingredients:
- 2 cups all-purpose flour
- 1 teaspoon baking soda
- 1/4 teaspoon salt
- 1/2 cup unsalted butter
- 3/4 cup brown sugar
- 2 large eggs
- 2 1/3 cups mashed overripe bananas
- 1 cup chocolate chips
Making this delicious chocolate chip banana bread is easy and rewarding. First, preheat your oven to 350°F (175°C). Then, grease a 9×5 inch loaf pan.
“Baking is love made edible” – Unknown
| Ingredient | Measurement | Purpose |
|---|---|---|
| Overripe Bananas | 2-3 large | Moisture and Natural Sweetness |
| Chocolate Chips | 1 cup | Rich Flavor and Texture |
| Butter | 1/2 cup | Richness and Tender Crumb |
For the best results, make sure your bananas are very ripe and soft. This ensures they add lots of natural sweetness and a moist texture that everyone loves.
Pro tip: Gently fold chocolate chips into the batter to prevent them from sinking to the bottom of your loaf.
Mastering the Mixing Technique
Making the perfect easy banana bread is more than just mixing ingredients. The way you mix can greatly affect your chocolate chip banana bread. Learning how to handle your ingredients will improve your baking and make your bread moist and flavorful.
Proper Banana Mashing Methods
Mashing bananas is key when baking with them. Use a fork or potato masher for a smooth texture. Don’t blend them, as it can make them too runny.
- Choose ripe bananas with brown spots
- Mash until mostly smooth with some small chunks
- Leave a few banana pieces for extra moisture
Incorporating Wet and Dry Ingredients
Combining wet and dry ingredients is crucial for banana bread. Make a well in the dry ingredients and add wet ingredients in the center. Fold gently to avoid overmixing.
| Mixing Technique | Result |
|---|---|
| Gentle folding | Tender, moist bread |
| Overmixing | Tough, dense texture |
Adding Chocolate Chips Successfully
Before adding chocolate chips, toss them in flour. This keeps them from sinking. Fold them in gently for even distribution in your banana bread.
“The secret to perfect banana bread is in the gentle touch.” – Professional Baker
Tips for Achieving Perfect Moisture
To make a moist banana bread, you need the right techniques and ingredients. The secret is knowing how moisture works in baking. You want to turn overripe bananas into soft, tasty loaves.
“The key to moist banana bread is not just in the ingredients, but in the method of preparation.”
Here are some expert tips for moist banana bread:
- Use extremely ripe bananas with dark brown or black peels
- Avoid overmixing the batter to prevent gluten development
- Incorporate sour cream or Greek yogurt for added moisture
- Measure ingredients precisely to maintain proper hydration
Getting the moisture balance right is key. Too much liquid makes the bread soggy. Too little makes it dry. The right mix of wet and dry ingredients makes a great banana bread.
| Moisture Technique | Impact on Bread |
|---|---|
| Overripe Bananas | Increases natural sweetness and moisture |
| Yogurt Addition | Enhances tenderness and prevents dryness |
| Proper Mixing | Maintains delicate crumb structure |
When baking chocolate chip banana bread, be patient and pay attention to details. This will give you a moist and delicious treat that everyone will enjoy.
Baking Temperature and Timing Guide
Getting your chocolate chip banana bread just right is all about the baking. Knowing the perfect temperature and timing makes a big difference. It turns your quick bread into a moist, delicious homemade treat every time.
Baking banana bread needs careful attention. Experts say temperature and timing are key to a tasty loaf.
Signs of Proper Baking
- Golden brown exterior with a rich, even color
- Slight cracking on top of the bread
- Edges pulling slightly away from the pan
- Warm, inviting aroma filling your kitchen
Testing for Doneness
Figuring out when your banana bread is done is easy with a few tricks:
- Toothpick Test: Stick a toothpick into the bread’s center. If it’s clean or has a few moist crumbs, it’s ready.
- Internal Temperature: Check the bread’s center with a digital thermometer. It should be 200-205°F (93-96°C).
“Baking is a science, and precision is your best friend in creating the perfect banana bread.” – Professional Baker
| Oven Temperature | Baking Time | Bread Characteristics |
|---|---|---|
| 350°F (175°C) | 55-65 minutes | Moist, even bake with golden crust |
| 325°F (165°C) | 65-75 minutes | Slower bake, more moisture retention |
Pro tip: Always put your banana bread in the oven’s center for even baking. Check it early to avoid overcooking, as ovens can differ.
Common Baking Mistakes to Avoid
Making the best banana bread is more than just a recipe. Baking with bananas can lead to mistakes that ruin your bread. Knowing these errors can help you make a perfect loaf every time.
Bakers often face challenges that affect the bread’s texture and taste. Here are the main mistakes to avoid:
- Overmixing the batter: Too much mixing can make the bread tough and dense
- Using bananas that are not ripe enough or too ripe, upsetting the moisture balance
- Incorrect oven temperature causing uneven baking
- Not properly preparing your baking pan
The secret to great banana bread is knowing how ingredients work together. Overripe bananas might seem right, but they can make the bread too wet. Look for bananas with dark brown spots that are soft but not mushy.
“Baking is a science, and banana bread requires precision and care.” – Professional Baker
Temperature control is key. Preheat your oven and use an oven thermometer for accurate heat. This simple step can make your banana bread amazing.
- Check oven temperature before baking
- Use room temperature ingredients
- Measure ingredients precisely
- Avoid opening the oven door too frequently
By avoiding these common mistakes, you can make your banana bread truly special.
Storage and Freshness Tips
Keeping your chocolate chip banana bread fresh is key. Whether it’s a new batch or leftovers, these tips will help. They ensure your treat stays delicious.
Proper Cooling Methods
Letting your banana bread cool right is important. It keeps it moist and prevents it from getting soggy. Here’s how to do it:
- Take the bread out of the pan as soon as it’s done
- Put it on a wire rack to cool
- Let it cool completely for at least an hour before storing
- Don’t cover it while it’s still warm to avoid moisture
Freezing Instructions
Freezing is a great way to keep your banana bread fresh longer. Here’s how to freeze and thaw it:
| Storage Method | Duration | Best Practices |
|---|---|---|
| Room Temperature | 2-3 days | Store in airtight container |
| Refrigerator | Up to 1 week | Wrap tightly in plastic wrap |
| Freezer | Up to 3 months | Wrap in plastic wrap, then aluminum foil |
“The key to maintaining a moist banana bread is proper storage and careful handling.” – Baking Experts
When freezing, wrap it well to avoid freezer burn. Thaw at room temperature for the best taste. Enjoy it like it’s just baked.
Pro tip: Freeze the bread sliced. It’s easier to thaw what you need. This way, you can have a slice whenever you want!
Variations and Customizations
Turning a classic chocolate chip banana bread recipe into your own is exciting. Overripe banana recipes let you get creative with flavors and textures.
- Nutty Additions
- Chopped walnuts
- Sliced almonds
- Pecans
- Chocolate Variations
- Dark chocolate chunks
- White chocolate chips
- Milk chocolate varieties
- Spice Enhancements
- Cinnamon
- Nutmeg
- Cardamom
For those who love trying new things, here are some unique mix-ins:
- Dried fruit (cranberries, raisins)
- Coconut flakes
- Cream cheese swirls
- Caramel bits
“The beauty of banana bread is its incredible adaptability. Don’t be afraid to experiment!” – Professional Baker
When you’re customizing your chocolate chip banana bread, keep the right mix of wet and dry ingredients. This ensures the bread turns out right.
| Variation | Flavor Profile | Recommended Additions |
|---|---|---|
| Tropical Twist | Sweet and Exotic | Coconut, macadamia nuts |
| Spiced Delight | Warm and Comforting | Cinnamon, nutmeg |
| Decadent Chocolate | Rich and Indulgent | Dark chocolate chunks |
Pro tip: Always fold mix-ins gently to prevent overmixing and maintain the bread’s delicate texture.
Nutrition Information and Dietary Considerations
Knowing the nutritional facts of homemade banana bread helps you make better choices. Baking with bananas adds more than just taste – it brings important nutrients and ways to adjust recipes.
Caloric Content and Nutritional Breakdown
A slice of chocolate chip banana bread has about 250-300 calories. The ingredients in banana bread give it carbs, proteins, and healthy fats.
| Nutrient | Amount per Slice |
|---|---|
| Calories | 275 |
| Carbohydrates | 35g |
| Protein | 4g |
| Fat | 12g |
| Fiber | 2g |
Dietary Modifications
It’s easy to make banana bread for different diets. You can change the recipe to fit many needs:
- Gluten-Free: Use almond or coconut flour instead of wheat flour
- Vegan: Choose plant-based milk and egg substitutes
- Low-Sugar: Try natural sweeteners like stevia or monk fruit instead of sugar
- Dairy-Free: Replace butter with coconut oil
“Healthy baking is about creativity and understanding ingredient substitutions” – Professional Baker
If you have special dietary needs, talk to a nutritionist before changing your banana bread recipe.
Serving Suggestions and Pairings
Your homemade chocolate chip banana bread is ready for some creative and tasty serving ideas. The best banana bread recipe is not just about baking. It’s about how you present and enjoy it.
Breakfast lovers will enjoy turning this easy banana bread into a special morning meal. Here are some exciting ways to serve it:
- Warm the slice and add a pat of salted butter
- Top with cream cheese frosting
- Serve alongside Greek yogurt and fresh berries
- Create a decadent French toast using banana bread slices
For gourmet pairings, try these delightful combinations:
- Coffee or espresso for a classic morning treat
- Chai tea for a spiced complement
- Vanilla ice cream for a dessert-style experience
“Great bread is about passion, creativity, and sharing joy with others.” – Artisan Baker’s Wisdom
Temperature is key when serving your chocolate chip banana bread. Slightly warmed slices bring out more flavors. Enjoy it for a quick breakfast or an afternoon snack. These ideas will make your homemade bread a memorable moment.
Troubleshooting Common Issues
Baking with bananas can sometimes present unexpected challenges. Even experienced bakers encounter issues when making moist banana bread. Understanding how to diagnose and resolve common problems will help you create the perfect homemade banana bread every time.
Texture Challenges in Banana Bread
Achieving the right texture can be tricky when making banana bread. Dense or dry loaves are common frustrations for home bakers. Here are some key solutions:
- Overmixing can create a tough, dense texture. Gently fold ingredients until just combined
- Use very ripe bananas for maximum moisture and natural sweetness
- Measure ingredients precisely to maintain proper moisture balance
Solving Baking Challenges
Uneven baking and undercooked centers can derail your banana bread dreams. Professional bakers recommend these strategies:
- Preheat your oven completely before baking
- Use an oven thermometer to verify accurate temperature
- Place banana bread in the center rack for consistent heat distribution
“Perfect banana bread is more about technique than luck” – Professional Baker’s Wisdom
By understanding these troubleshooting techniques, you’ll transform your homemade banana bread from potentially problematic to absolutely delicious.
Expert Tips for Professional Results
To make your chocolate chip banana bread truly stand out, you need some pro tips. It’s not just about the ingredients. It’s also about how you mix and bake.
“Baking is a science, but banana bread is an art form that welcomes creativity.” – Professional Pastry Chef
Professional bakers share some top tips to improve your quick bread:
- Always use overripe bananas with dark brown spots for maximum sweetness
- Gently fold chocolate chips to prevent breaking
- Use room temperature ingredients for smoother mixing
- Avoid overmixing the batter to maintain tender texture
Temperature control is key for perfect results. Preheat your oven and use a thermometer for consistent baking.
| Technique | Professional Tip |
|---|---|
| Banana Mashing | Use a fork, leaving some small chunks for texture |
| Chocolate Distribution | Coat chips in flour to prevent sinking |
| Cooling Method | Let bread rest in pan for 10 minutes before removing |
With these expert techniques, you’ll make a chocolate chip banana bread that’s as good as the pros.
Conclusion
Learning to make homemade banana bread is a fun journey. It shows off your baking skills and creativity. Every time you make this easy banana bread, you get better at it.
Getting better at baking takes practice. It’s about knowing your ingredients, mixing well, and trying new things. Your hard work will make a treat that everyone loves.
Baking is both a science and an art. This recipe is a good start, but feel free to make it your own. Try different chocolate chips or add nuts. Each batch of banana bread is a special story.
Every slice of banana bread brings people together. Start baking today and enjoy the tasty results of your chocolate chip banana bread.
FAQ
How ripe should bananas be for banana bread?
For the best banana bread, use bananas that are very ripe. They should have dark brown or black spots. These bananas are sweeter and have a stronger flavor, making your bread moist and tasty.
Can I use frozen bananas for this recipe?
Yes, frozen bananas work great! Just thaw them and drain any extra liquid. They’re perfect when you have ripe bananas but can’t use them right away.
How do I prevent my chocolate chips from sinking to the bottom?
To keep chocolate chips from sinking, coat them in flour first. This helps them stay on top of the batter. Then, gently mix them in just before baking.
How long will chocolate chip banana bread stay fresh?
Your banana bread will last 3-4 days in an airtight container. You can also refrigerate it for up to a week or freeze for 3 months. Always wrap it well to keep it moist.
Can I make this recipe gluten-free?
Yes! Use a gluten-free flour blend instead of regular flour. Make sure the blend has xanthan gum or add 1/2 teaspoon per cup for better texture.
What kind of chocolate chips work best?
Semi-sweet chocolate chips are the top choice. But you can try milk chocolate, dark chocolate, or chocolate chunks. Pick high-quality chips for the best flavor.
How can I tell if my banana bread is fully baked?
Check with the toothpick test: stick a toothpick into the loaf’s center. If it’s clean or has a few moist crumbs, it’s done. The top should also be golden and slightly soft.
Can I add nuts to this recipe?
Yes! Chopped walnuts or pecans are great in banana bread. Add 1/2 to 3/4 cup for extra flavor and texture. Toasting the nuts first adds a nice taste.
How do I make my banana bread extra moist?
Use very ripe bananas and avoid overmixing. Adding a tablespoon of sour cream or Greek yogurt helps too. These tips ensure your bread is moist and tender.
Can I make this recipe vegan?
Yes, you can make it vegan! Use mashed bananas instead of eggs, and substitute butter with vegetable oil or melted coconut oil. Use vegan chocolate chips and plant-based milk for a vegan version.