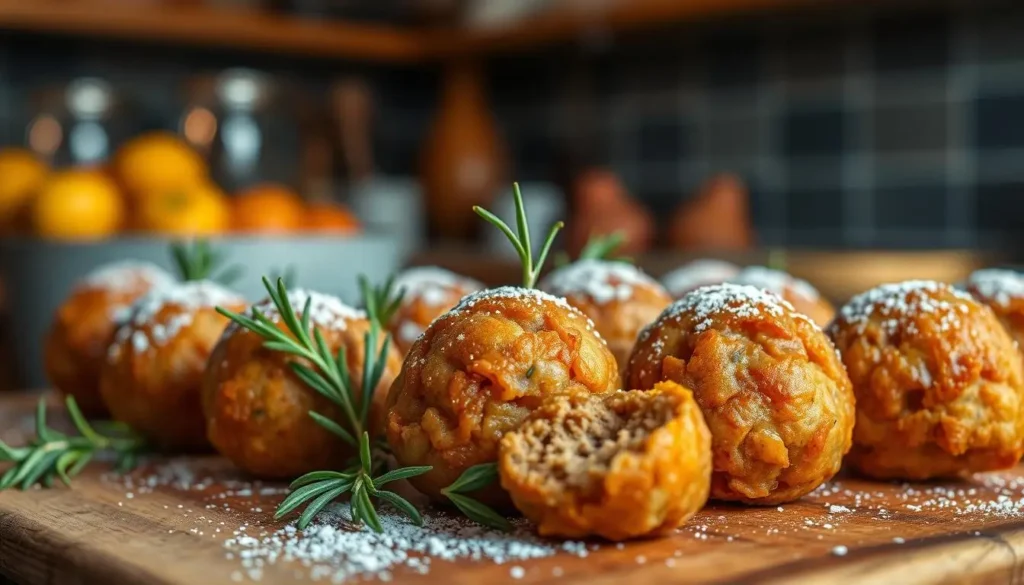
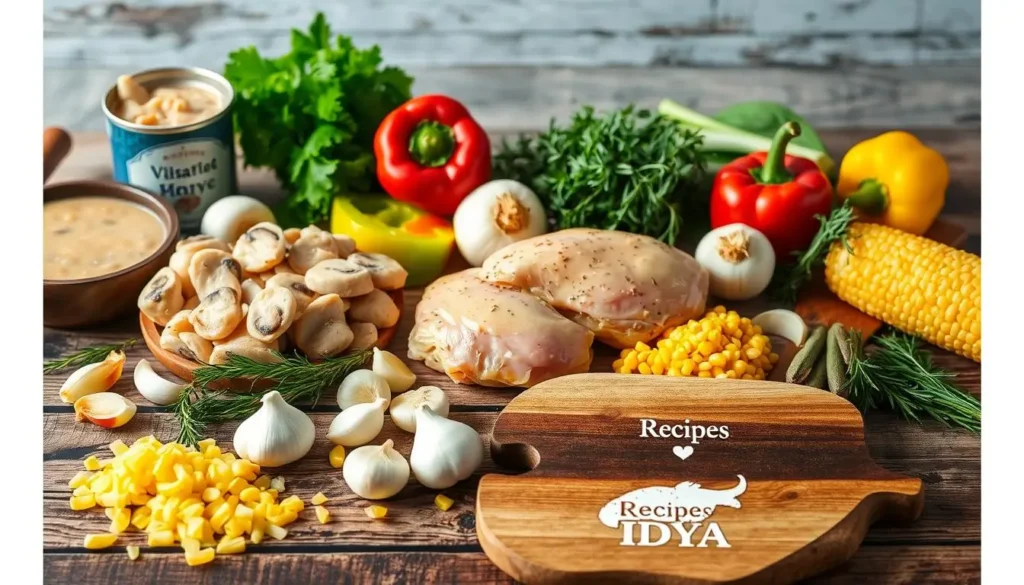
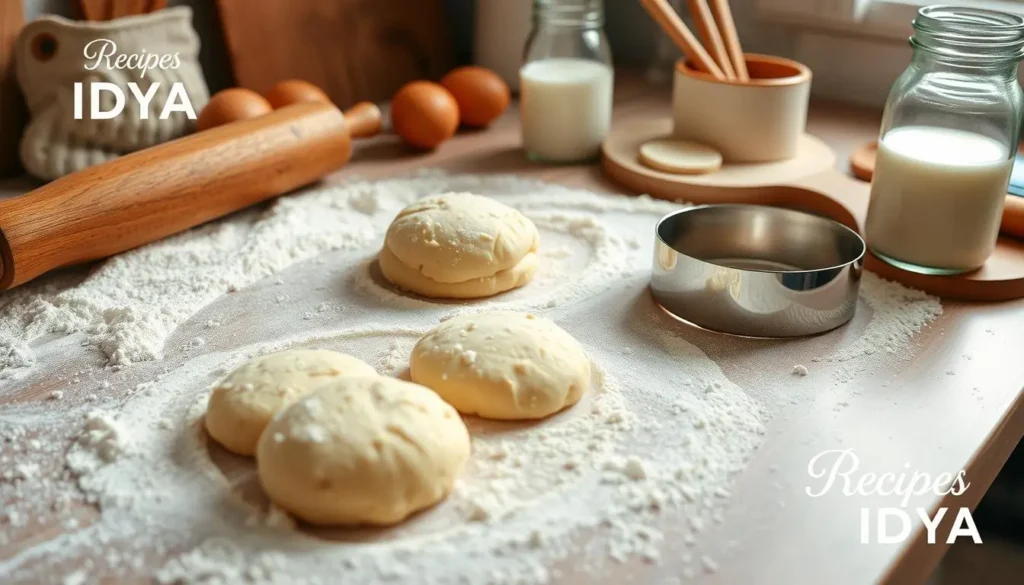
Ingredients
- 4 boneless, skinless chicken tenderloins
- 1 tablespoon olive oil
- 1 teaspoon garlic powder
- 1 teaspoon onion powder
- 1/2 teaspoon paprika
- Salt and pepper to taste
- 1 tablespoon fresh lemon juice
- Chopped parsley (for garnish)
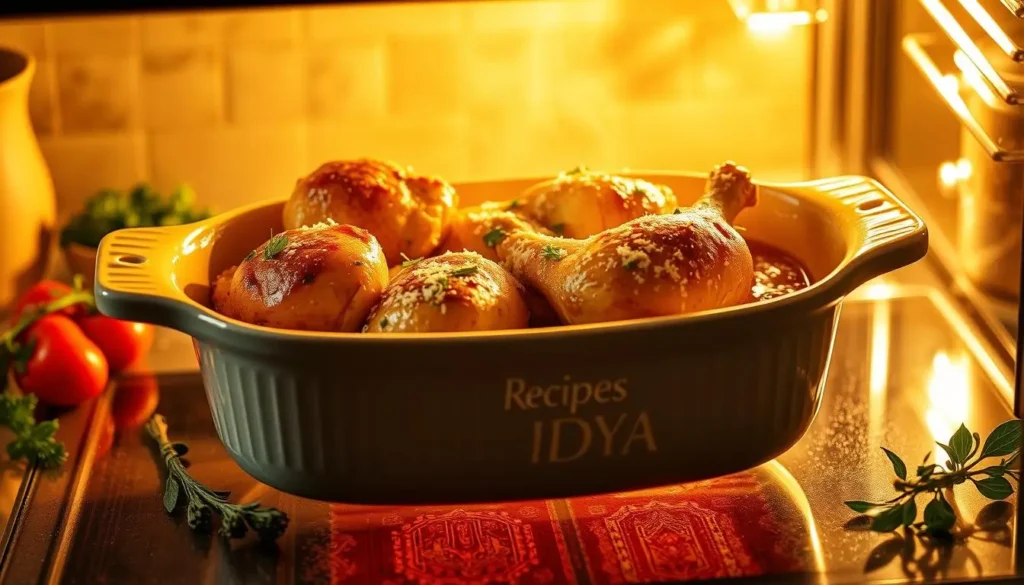
Instructions
1. Preheat the oven to 375°F (190°C).
2. Season the chicken tenderloins with garlic powder, onion powder, paprika, salt, and pepper.
3. Heat olive oil in a large oven-safe skillet over medium heat.
4. Add the chicken tenderloins and sear them for 2-3 minutes on each side until golden brown.
5. Add lemon juice over the chicken, then transfer the skillet to the preheated oven.
6. Bake for 15-18 minutes or until the chicken is cooked through and the internal temperature reaches 165°F (74°C).
7. Garnish with chopped parsley and serve.
Notes
You can serve the chicken tenderloins with rice, vegetables, or a side salad. For extra flavor, marinate the chicken for 30 minutes before cooking.
Table of Contents
Are you tired of boring chicken dinners? Chicken tenderloin recipes can change that. They turn your kitchen into a place of culinary adventure.
Chicken tenderloins are the most versatile and delicious chicken cut. They can make any meal special. Whether you’re a busy parent, a home cook, or a food lover, these recipes will change how you cook.
This guide offers a variety of tasty chicken tenderloin recipes. You’ll find quick weeknight meals and gourmet dishes from around the world. Get ready to make meals that everyone will love.
Key Takeaways
- Chicken tenderloin recipes offer incredible versatility
- Learn multiple cooking methods for perfect results
- Explore flavors from around the world
- Discover quick and easy meal solutions
- Elevate your home cooking skills
Introduction to Chicken Tenderloins
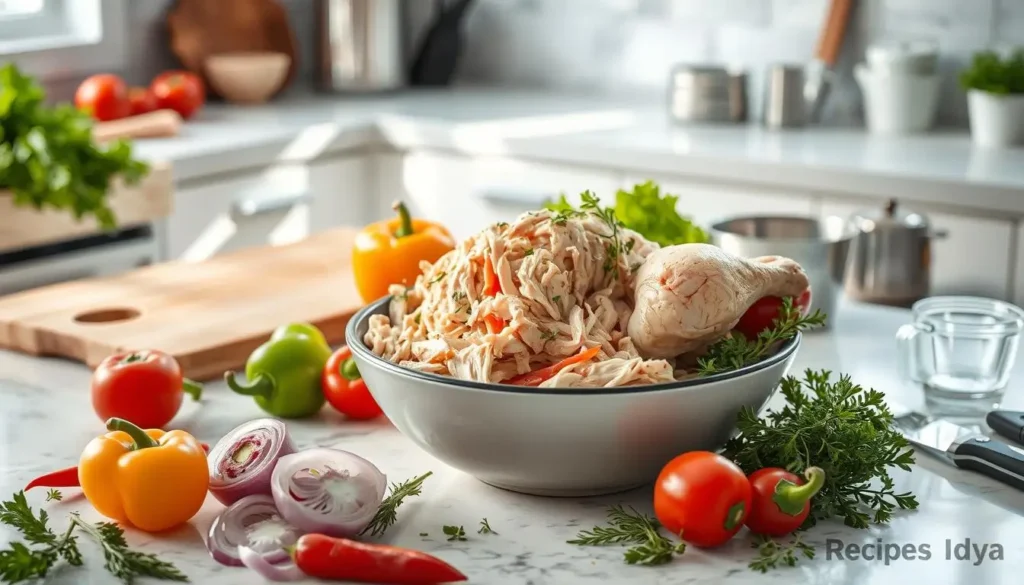
Chicken tenderloins are a tasty cut of meat that can make your cooking better. They are soft and cook quickly, making them loved by many. These tender muscles are found under the chicken breast.
What Are Chicken Tenderloins?
Chicken tenderloins are the soft muscles under the chicken breast. They are more tender than regular breast meat and soak up marinades well. These strips are about 1-2 inches long and are lighter in color.
- Located under the chicken breast
- Smaller and more tender than breast meat
- Perfect for quick cooking methods
Nutritional Benefits of Chicken Tenderloins
Chicken tenderloins are a nutritional powerhouse. They are a great source of lean protein, perfect for those watching their diet. A serving gives you important nutrients without too many calories.
“Chicken tenderloins are nature’s protein powerhouse!” – Nutrition Expert
How to Choose Fresh Tenderloins
When picking chicken tenderloins, look for meat that’s firm and pale pink. Stay away from any with odd colors or smells. Fresh tenderloins should feel smooth and not too wet.
- Check for consistent pink color
- Ensure firm texture
- Smell for freshness
- Avoid excess liquid in packaging
Knowing these tips will help you make tasty chicken tenderloin dishes. Your family and friends will love them!
Simple Cooking Methods for Chicken Tenderloins
Cooking chicken tenderloins is quick and easy with a few key techniques. Whether baking or grilling, the right method makes these tender cuts delicious.
Baking Chicken Tenderloins to Perfection
Baking chicken tenderloins is simple and doesn’t require much effort. Here’s how to get juicy results:
- Preheat your oven to 400°F
- Season tenderloins with salt, pepper, and herbs
- Arrange on a lined baking sheet
- Bake for 15-18 minutes until internal temperature reaches 165°F
Mastering Grilled Chicken Tenderloin Techniques
Grilling brings out amazing flavor in chicken tenderloins. Here are tips for a perfect grilled chicken tenderloin:
- Marinate for 30 minutes before grilling
- Preheat grill to medium-high heat
- Cook 3-4 minutes per side
- Look for golden-brown grill marks
Pan-Searing for Golden Results
Pan-searing gives a crispy outside and a tender inside. Pro tip: use a cast-iron skillet for best results.
- Heat oil in a skillet over medium-high heat
- Pat tenderloins dry before cooking
- Cook 3-4 minutes per side
- Rest for 3-5 minutes after cooking
Each method has its own benefits. Try them out to find your favorite way to cook chicken tenderloins.
Flavorful Marinades for Your Chicken Tenderloins
Turning simple chicken tenders into a feast is all about the marinade. Marinades are like magic potions that make your chicken tenderloins taste amazing. They not only add flavor but also make the meat tender and juicy.
Marinading chicken tenderloins lets you try out many flavors. It’s about knowing how different ingredients work together to make your dish delicious.
Citrus-Based Marinades
Citrus marinades add a burst of freshness to chicken tenderloins. The acids in lemon, lime, and orange break down the proteins, making the meat super tender.
- Lemon-Garlic Marinade
- Orange-Ginger Blend
- Lime-Cilantro Mixture
Herb and Garlic Marinades
Herbs and garlic turn chicken tenders into a gourmet dish. Fresh herbs add deep, aromatic flavors that really get into the meat.
| Herb Combination | Key Ingredients | Marinating Time |
|---|---|---|
| Rosemary-Thyme | Fresh rosemary, thyme, olive oil | 2-4 hours |
| Basil-Oregano | Fresh basil, dried oregano, garlic | 1-3 hours |
Spicy Marinades for Bold Flavors
For a bold taste, try spicy chicken tenders marinade. These marinades are full of flavor and keep the meat tender and juicy.
- Chipotle-Lime Marinade
- Sriracha-Honey Blend
- Jalapeño-Cilantro Mix
Pro tip: Always marinate chicken tenderloins in the refrigerator and discard used marinade to prevent bacterial growth.
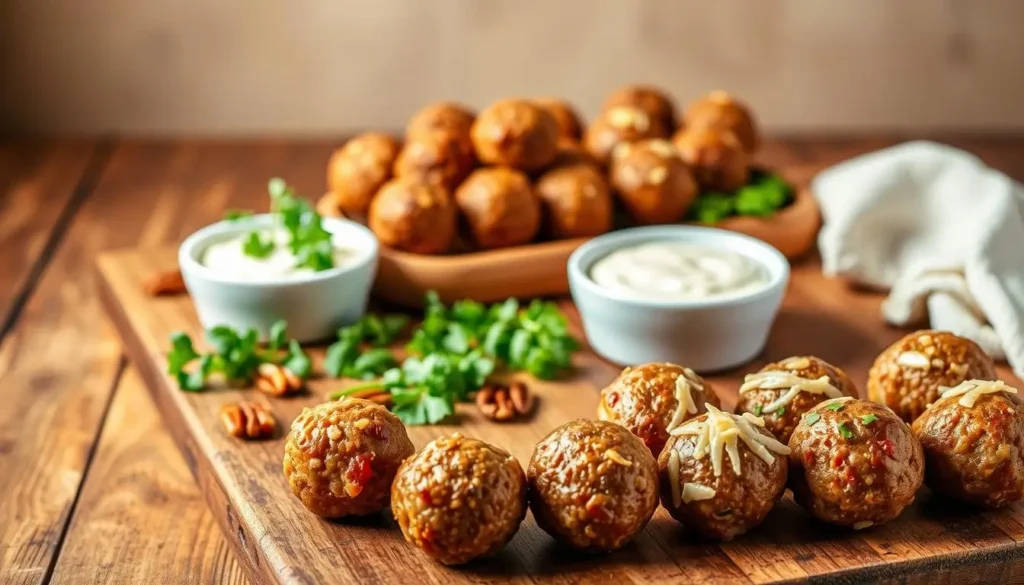
Kid-Friendly Chicken Tenderloin Recipes
Turning mealtime into a fun and tasty experience can be tough for parents. Chicken tenderloin recipes are a great solution for picky eaters. They offer healthy and delicious options that kids will enjoy.
Making chicken tenderloin nuggets at home lets you control what goes into them. These homemade nuggets are much better than store-bought ones. They are full of flavor and made with fresh, quality chicken.
Crispy Chicken Tenderloin Nuggets Recipe
To make the perfect chicken tenderloin nuggets, follow these steps:
- Select high-quality chicken tenderloins
- Prepare a crispy coating mixture
- Cut tenderloins into bite-sized pieces
- Dip in beaten eggs
- Roll in seasoned breadcrumbs
Honey Garlic Chicken Tenderloins
Kids will love these sweet and savory chicken tenderloins. The honey garlic glaze makes the chicken taste amazing. It turns a simple meal into a memorable one.
Parmesan Crusted Chicken Tenderloins
Add a cheesy parmesan crust to your chicken tenderloin nuggets. This recipe makes dinner fun and nutritious for kids. It adds extra crunch and flavor.
Pro tip: Get your kids involved in the cooking process to make mealtime more engaging and fun!
Chicken tenderloin nuggets are more than just a meal. They’re a chance to make lasting memories with your family at dinner time.
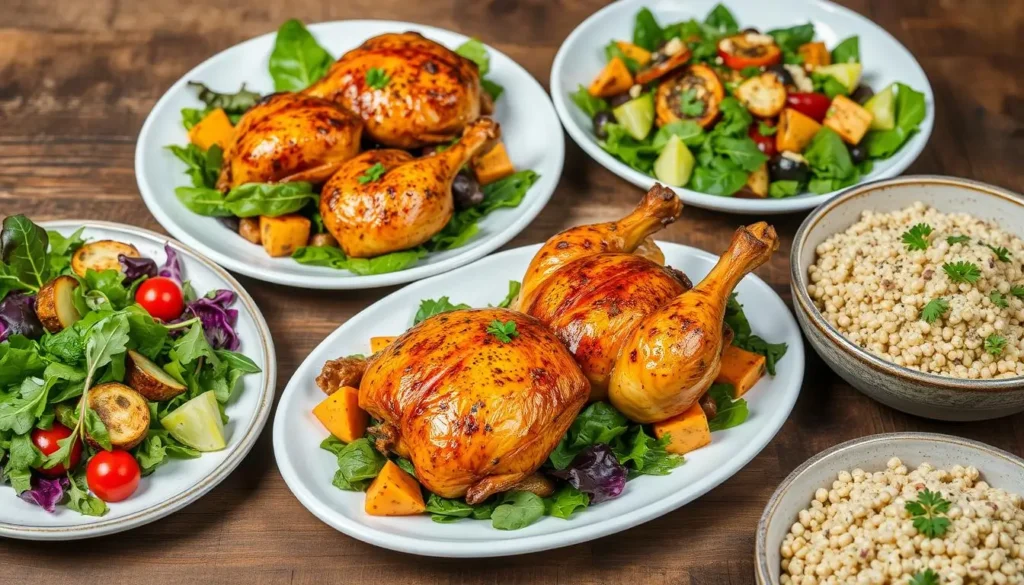
Healthy Chicken Tenderloin Recipes
Eating healthy doesn’t mean you have to give up flavor. Chicken tenderloins are a great choice for protein-packed meals that make you feel good. These recipes will show you how to make clean eating fun with simple, tasty dishes.
Grilled Chicken Tenderloin Salad
Make a delicious chicken tenderloin salad that’s both healthy and tasty. Start by marinating your chicken in a mix of olive oil and herbs. Grill it until it’s golden, then slice it over fresh greens.
- Choose mixed greens for maximum nutrition
- Add colorful vegetables like cherry tomatoes and cucumber
- Dress with a light vinaigrette
Honey Mustard Glazed Chicken
Take your chicken tenderloins to the next level with a honey mustard glaze. This recipe is low in calories but full of flavor. It’s sure to be a hit with your family.
“Healthy eating is about making smart, delicious choices that nourish your body.” – Nutrition Expert
Lemon Herb Chicken Tenderloins
Make your meal pop with zesty lemon herb chicken tenderloins. Fresh herbs like parsley, thyme, and rosemary add amazing flavor without extra calories.
- Use fresh lemon zest for bright flavor
- Bake or grill for a light cooking method
- Pair with roasted vegetables
These chicken tenderloin recipes show that healthy eating can be exciting and delicious. Try different herbs, marinades, and cooking methods to keep your meals fresh and healthy.
Quick Weeknight Dinner Ideas
Busy evenings need fast, tasty meals that are full of flavor. Chicken tenderloins are great for quick dinners that everyone will love. They can turn into many exciting dishes in under 30 minutes.

Make your weeknight cooking easy with these tasty chicken tenderloin recipes. You’ll find simple ways to make restaurant-quality dinners fast, without spending hours cooking.
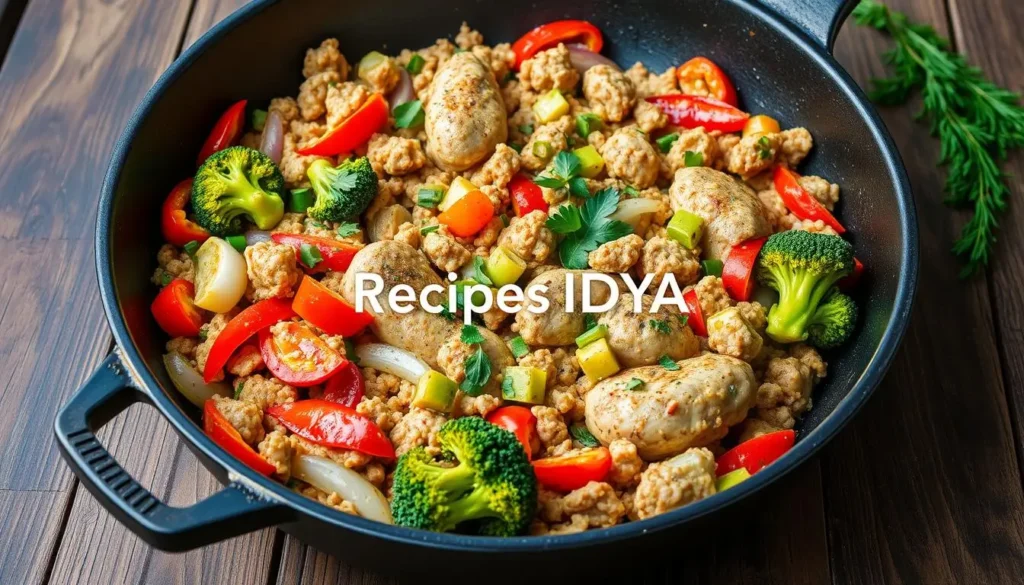
One-Pan Chicken Stir-Fry
Stir-frying chicken tenderloins is quick and keeps flavors and nutrients in. Here’s a simple recipe to make your dinner prep faster:
- Slice tenderloins into bite-sized pieces
- Prepare colorful vegetable mix
- Heat wok or large skillet with oil
- Cook chicken until golden brown
- Add vegetables and quick sauce
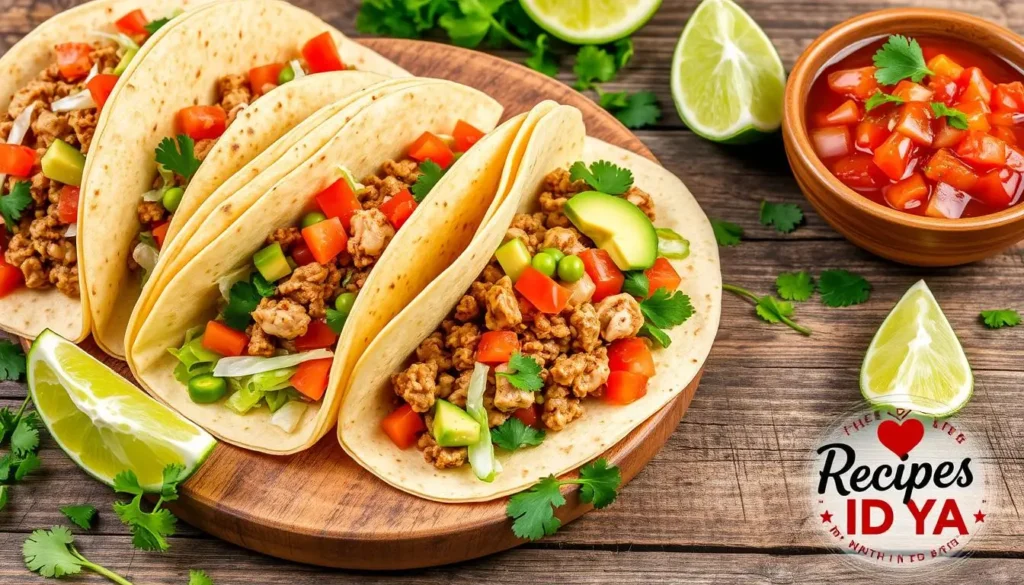
Chicken Tenderloin Tacos
Taco night just got better with tender, seasoned chicken. You can make chicken tenderloin wraps with your favorite toppings. They’re great for kids who are picky.
Sheet Pan Chicken with Veggies
Make a mess-free dinner with a sheet pan meal. Put chicken tenderloins and mixed veggies on one pan, season, and roast for a full meal.
“Weeknight cooking doesn’t have to be complicated to be delicious!” – Chef Maria Rodriguez
Pro tip: Use leftover chicken tenderloins for amazing chicken tenderloin wraps the next day. Just slice, add fresh veggies, and wrap in a tortilla for a quick lunch.
| Dish | Prep Time | Cooking Time |
|---|---|---|
| One-Pan Stir-Fry | 10 minutes | 15 minutes |
| Chicken Tenderloin Tacos | 15 minutes | 10 minutes |
| Sheet Pan Chicken | 5 minutes | 25 minutes |
International Chicken Tenderloin Dishes
Explore global flavors to turn chicken tenderloins into a culinary adventure. Each recipe introduces new sauce techniques that excite your taste buds and broaden your cooking skills.
Exploring global cuisines is a tasty way to reimagine chicken tenderloins. From spicy marinades to tangy sauces, these dishes show chicken’s versatility and greatness.
Indian Chicken Tikka
Discover Indian cuisine with this classic chicken tikka recipe. The secret is a rich, yogurt-based marinade that adds complex spices to the chicken tenderloins sauce.
- Marinate tenderloins in yogurt, ginger, and garam masala
- Grill or broil for authentic charred edges
- Serve with mint chutney and basmati rice
Thai Chicken Satay
Bring Bangkok’s streets into your kitchen with these succulent skewered chicken tenderloins. The signature peanut sauce offers an irresistible flavor that will win your family’s heart.
- Create a coconut milk and turmeric marinade
- Grill until slightly crispy
- Prepare a homemade spicy peanut sauce for dipping
Italian Chicken Piccata
Enjoy Italy’s bright, zesty flavors with this classic chicken tenderloin dish. A light lemon-caper sauce turns simple chicken into a fancy meal.
- Lightly flour and pan-sear tenderloins
- Create a quick chicken tenderloins sauce with butter, lemon, and capers
- Garnish with fresh parsley
These international recipes show different ways to prepare chicken tenderloins. With the right sauce and technique, you can make restaurant-quality meals at home.
Delicious Sides for Chicken Tenderloins
Adding the right sides to your chicken tenderloins can make a big difference. The perfect sides not only match the flavors of your chicken but also add nutrition and beauty to your plate.
Roasted Vegetables: A Colorful Companion
Roasted vegetables add vibrant colors and deep flavors to your meal. Choose a variety of seasonal veggies for the best taste:
- Bell peppers in red, yellow, and green
- Zucchini and yellow squash
- Red onions
- Cherry tomatoes
- Carrots
Drizzle olive oil, salt, pepper, and herbs over your veggies. Roast at 425°F for 20-25 minutes until they’re tender and caramelized.
Creamy Mashed Potatoes: Comfort on a Plate
Creamy mashed potatoes are the ultimate comfort food for chicken tenderloins. Their smooth texture complements the crispy or saucy chicken perfectly.
| Ingredient | Quantity |
|---|---|
| Russet potatoes | 4 large |
| Butter | 1/2 cup |
| Heavy cream | 1/4 cup |
| Salt | To taste |
| White pepper | 1/2 tsp |
Garden Fresh Salad: Crisp and Light
A fresh salad adds a crisp contrast to your chicken tenderloins. Make a simple vinaigrette to toss with mixed greens for a light side dish.
“The best meals are a balance of flavors, textures, and colors.” – Professional Chef
These side dishes will make your chicken tenderloins even more enjoyable. Feel free to mix and match to find your favorite combination.
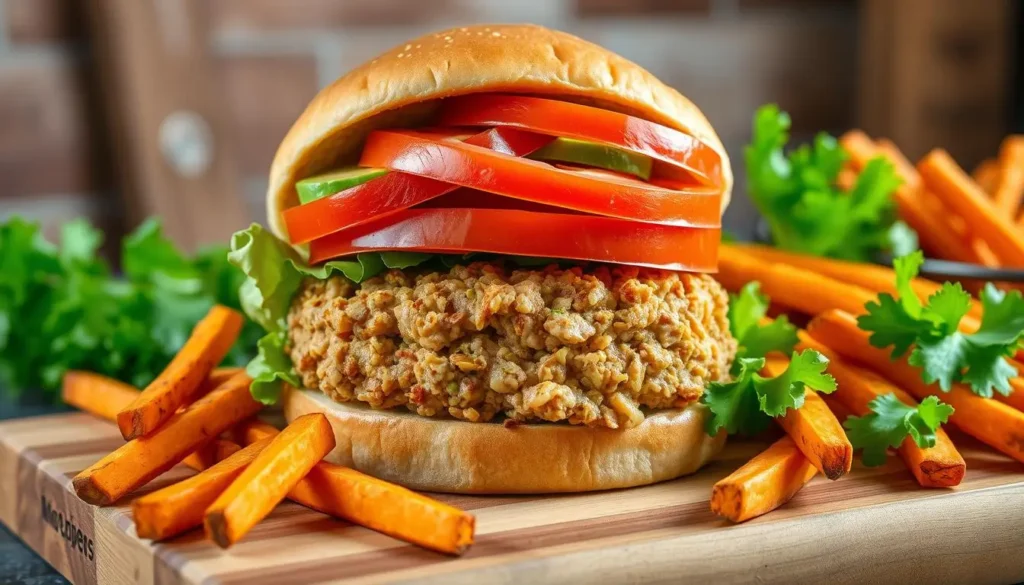
Creative Chicken Tenderloin Sandwiches
Make your lunchtime special with creative chicken tenderloin wraps and sandwiches. These ideas turn simple ingredients into amazing dishes. They’re perfect for a quick lunch or a weekend meal with friends and family.
Sandwiches are a great way to show off chicken tenderloins. You can make everything from classic subs to fancy paninis. These recipes add fun to your cooking.
Chicken Tenderloin Submarine Sandwich
Here’s how to make a top-notch submarine sandwich:
- Choose a crusty baguette for extra crunch
- Grill the chicken tenderloins until they’re golden
- Add fresh veggies and a zesty sauce
- Toast the bread for more texture
BBQ Chicken Tenderloin Sandwich
Try a BBQ chicken tenderloin wrap for bold flavors. Coat the tenderloins in tangy BBQ sauce. Add crisp coleslaw and serve on a soft roll for a tasty meal.
Chicken Pesto Panini
For a fancy touch, make a chicken pesto panini. It has grilled chicken tenderloins, fresh mozzarella, and homemade pesto. This sandwich turns simple ingredients into a feast for the senses.
Pro tip: Try different breads and sauces to keep your wraps fresh and exciting!
Slow Cooker Chicken Tenderloin Recipes
Discover the ease of cooking with your slow cooker. Turn chicken tenderloins into tasty meals that everyone will love. Slow cooking makes the chicken tender and juicy, with rich flavors.
Slow cookers are lifesavers for busy cooks. They make ordinary chicken tenderloins into amazing dishes with little effort. The slow heat breaks down proteins, making the meat tender and flavorful.
Slow Cooker BBQ Chicken Tenderloin
Make a delicious BBQ chicken tenderloin for sandwiches or over rice. The secret is to layer ingredients for the best taste:
- Select high-quality chicken tenderloins
- Choose a robust BBQ sauce
- Add aromatic spices for depth
- Cook on low for 6-8 hours
Honey Garlic Chicken in the Slow Cooker
Make a sweet and savory chicken sauce that everyone will ask for more. Mix honey, garlic, and soy sauce for a tasty glaze that gets caramelized while cooking.
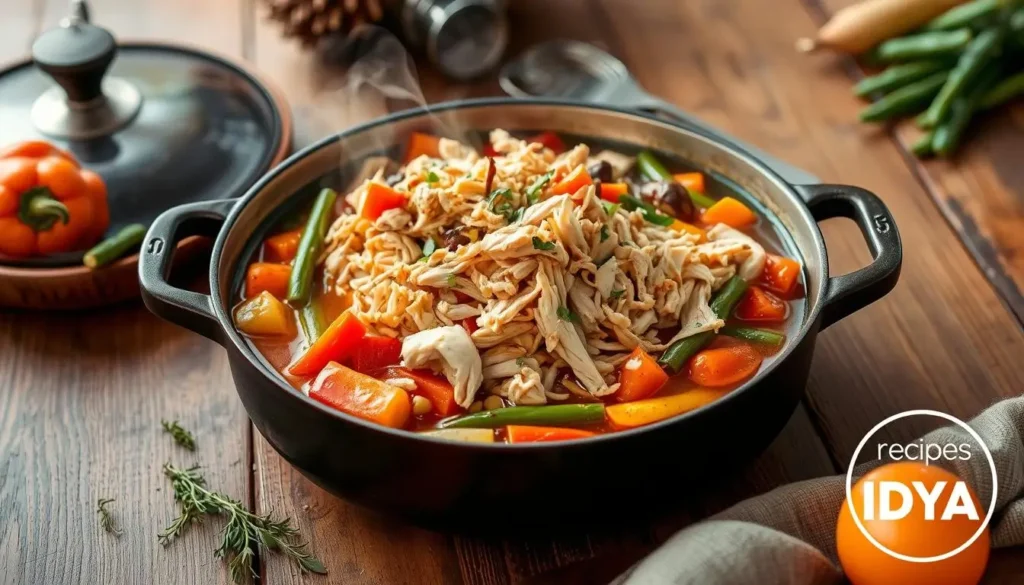
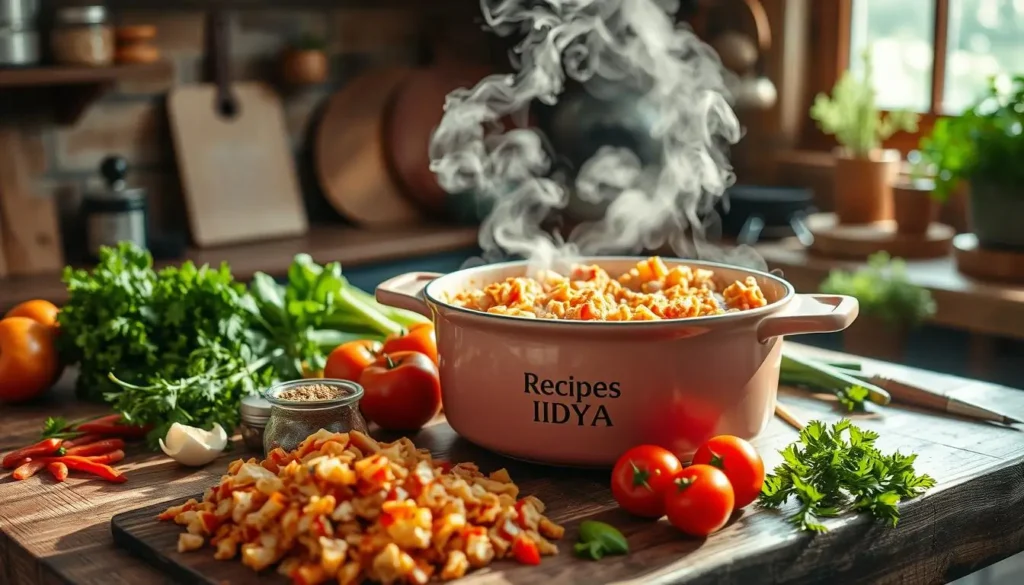
Chicken Tenderloin Chili
Turn chicken tenderloins into a hearty chili full of protein and flavor. Mix tender chicken with beans, veggies, and spices for a warm meal that’s perfect for a crowd.
Pro tip: Always use a meat thermometer to ensure your chicken reaches a safe internal temperature of 165°F for perfect, juicy results.
Tips for Cooking Chicken Tenderloins Perfectly
Cooking baked chicken tenderloins to perfection needs skill and focus. Whether you’re cooking at home or love to cook, learning to make tender and juicy chicken can make your meals special.
Getting the perfect baked chicken tenderloins is more than just a recipe. It’s about knowing how to cook poultry well. Here are the key techniques to make delicious chicken every time.
Proper Cooking Temperatures
Temperature is key when cooking baked chicken tenderloins. Use a meat thermometer for safety and flavor. Aim for an internal temperature of 165°F (74°C) to keep the meat juicy.
- Always use a digital meat thermometer
- Check temperature at the thickest part of the tenderloin
- Remove from heat when it reaches 160°F, as temperature will rise during resting
Avoiding Overcooking Tips
Overcooking can make your baked chicken tenderloins tough and dry. Here’s how to avoid it:
- Marinate the tenderloins before cooking
- Use moderate oven temperatures (375-425°F)
- Avoid excessive flipping during cooking
- Consider using parchment paper or a light coating of oil
Resting Time for Juiciness
The secret to juicy baked chicken tenderloins is resting them right. After cooking, let the meat rest for 5-10 minutes. This lets the juices spread, making each bite tender and tasty.
Pro tip: Cover the tenderloins with foil during resting to keep them warm and lock in moisture.
By using these tips, you’ll make your baked chicken tenderloins amazing. You’ll impress everyone with your cooking skills.
Storing and Reheating Chicken Tenderloins
Keeping your air fryer chicken tenders tasty and tender is key. Whether you’ve just made a batch or have leftovers, knowing how to store and reheat them is important. It helps keep their flavor and quality.
Proper Storage Techniques
Storing chicken tenderloins right is vital for safety and taste. Here’s how to keep your air fryer chicken fresh:
- Cool cooked tenderloins to room temperature within 2 hours
- Store in airtight containers or sealed plastic bags
- Refrigerate at 40°F or below
- Consume within 3-4 days for optimal taste and quality
Best Reheating Methods
Reheating chicken tenderloins can be a challenge. But these methods will help you get them crispy and juicy again:
| Reheating Method | Temperature | Time | Best For |
|---|---|---|---|
| Air Fryer | 350°F | 3-4 minutes | Crispy texture |
| Oven | 375°F | 10-12 minutes | Even heating |
| Microwave | Medium power | 1-2 minutes | Quick reheating |
Freezing Chicken Tenderloins
Freezing is a great way to keep your chicken tenderloins fresh longer. Wrap tenderloins individually in plastic wrap, then place in a freezer-safe bag. Raw tenderloins can last up to 9 months, while cooked ones should be eaten within 4-6 months.
Pro tip for air fryer chicken tenders: When reheating frozen tenderloins, thaw them in the fridge overnight for the best results. Don’t refreeze chicken again to keep it safe and tasty.
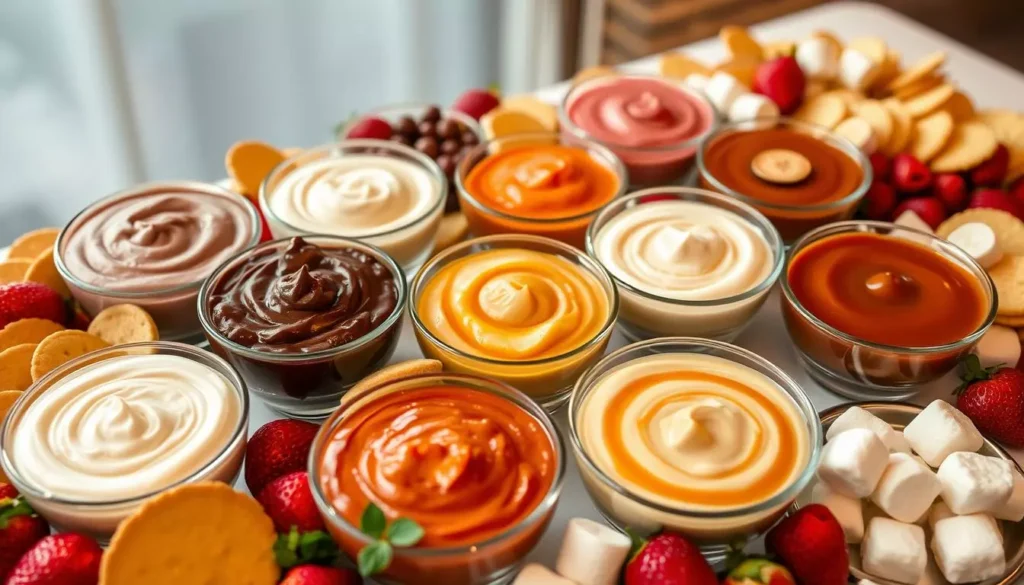
Pairing Chicken Tenderloins with Sauces
Turning chicken tenderloins into something special is all about the sauce. The right sauce can make a simple dish into a work of art. It adds depth, flavor, and excitement to your meal.
Sauces are key to making chicken tenderloins unforgettable. Whether you want a tangy kick, creamy richness, or spicy heat, the right sauce can change your dish.
Homemade Barbecue Sauce
Making your own barbecue sauce lets you control the flavors. Start with a mix of:
- Tomato paste
- Brown sugar
- Apple cider vinegar
- Worcestershire sauce
- Smoky spices
“The best barbecue sauce is the one you make with your own hands.” – Grill Masters Everywhere
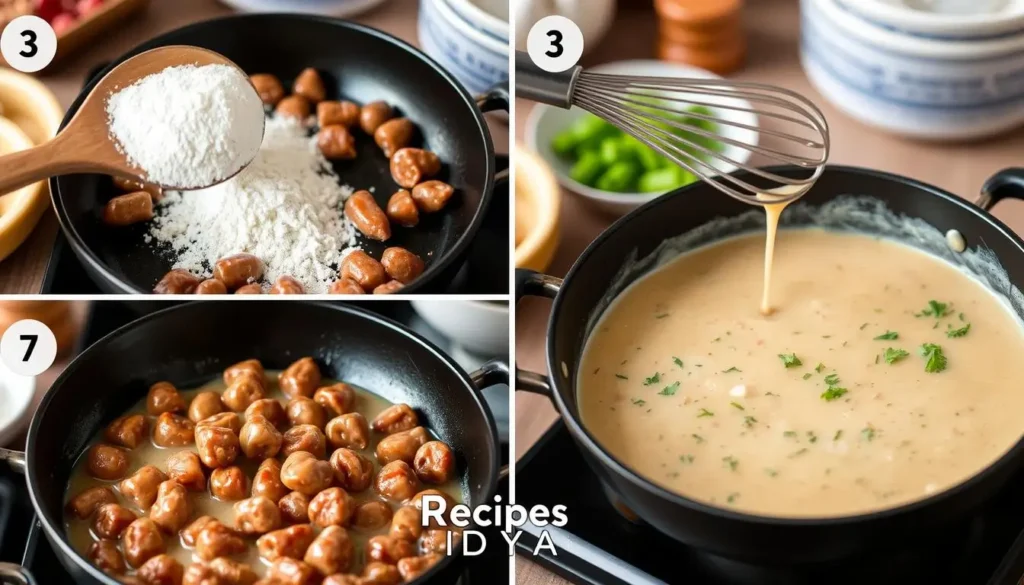
Creamy Mushroom Sauce
A creamy mushroom sauce can make chicken tenderloins fancy. You’ll need:
- Fresh mushrooms
- Heavy cream
- Garlic
- Thyme
- White wine (optional)
Spicy Sriracha Sauce
For a spicy kick, try homemade sriracha sauce. Mix:
- Sriracha sauce
- Honey
- Lime juice
- Garlic
- Ginger
Pro tip: Brush sauce lightly on chicken tenderloins. This enhances flavor without overpowering the meat.
Exploring Leftover Chicken Tenderloin Ideas
Turning leftover chicken tenderloins into new meals saves time and cuts down on waste. With a little creativity, your leftover chicken can become tasty dishes as good as the first time.
Using leftover chicken tenderloins opens up many cooking possibilities. You can make quick meals for weeknights or creative lunches. These recipes will give your leftover chicken a fresh twist.
Chicken Tenderloin Fried Rice
Make a top-notch fried rice with your leftover chicken. Cut the tenderloins into small pieces for even distribution. For extra crunch, coat some chicken with panko breadcrumbs before adding it to the rice.
- Chop chicken tenderloins into small cubes
- Use day-old rice for best texture
- Add mixed vegetables for nutrition
- Season with soy sauce and sesame oil
Chicken Salad with Tenderloins
A chicken salad is a great way to use up leftover chicken tenderloins. Cut the tenderloins into small pieces and mix with mayonnaise, diced celery, and herbs.
| Ingredient | Quantity |
|---|---|
| Chopped Chicken Tenderloins | 1 cup |
| Mayonnaise | 1/4 cup |
| Diced Celery | 2 tablespoons |
| Green Onions | 1 tablespoon |
Chicken Tenderloin Quesadillas
Quesadillas are a great way to use leftover chicken tenderloins. Shred or chop the chicken and mix it with cheese in a tortilla. For a crispy texture, coat some chicken with panko before adding it to your quesadilla.
- Warm tortillas on a skillet
- Add shredded chicken tenderloins
- Sprinkle cheese
- Fold and cook until golden
By getting creative with your leftover chicken tenderloins, you can make exciting meals that feel brand new and delicious.
Conclusion
Your journey through chicken tenderloin recipes has been thrilling. You’ve seen how these tender cuts can turn simple meals into gourmet dishes. They’re perfect for anyone wanting to cook exciting and healthy meals at home.
You’ve learned many ways to cook chicken tenderloins, from marinades to grilling. Each recipe is a chance to improve your cooking skills. The most important thing is to know how to cook them right and try new flavors.
Chicken tenderloin recipes are more than just food; they’re about creativity and fun. Your kitchen is a place to express yourself through cooking. Don’t be afraid to try new things and find your own style.
We encourage you to keep exploring and sharing your chicken tenderloin recipe stories. Your unique touch can make these simple ingredients into amazing meals. Enjoy the process, trust your taste, and most of all, have fun cooking!
FAQ
What are chicken tenderloins?
Chicken tenderloins are the tender strips from the underside of chicken breasts. They are lean and tender, making them great for quick, healthy meals.
How long should I marinate chicken tenderloins?
Marinate them for 30 minutes to 2 hours for the best flavor. They soak up marinades fast because they’re thin. But, don’t marinate for more than 4 hours to keep the meat tender.
What’s the best way to cook chicken tenderloins to keep them juicy?
Cook them to 165°F (74°C) to keep them juicy. Don’t overcrowd the pan and let them rest for 3-5 minutes after cooking. Marinating and using a meat thermometer help too.
Can I freeze chicken tenderloins?
Yes, you can freeze them. Raw tenderloins last up to 9 months, and cooked ones up to 2-6 months. Use airtight containers or freezer bags and label them with the date.
Are chicken tenderloins healthy?
They are a lean protein source, low in fat, and full of nutrients like vitamin B6 and phosphorus. They’re a healthy choice for a balanced diet, especially when cooked low-fat.
How can I make crispy chicken tenderloins?
For crispy tenderloins, use breadcrumbs or panko, season well, and cook at high heat. Baking at 425°F, air frying, or pan-frying with a light oil coating works well.
What are some quick marinades for chicken tenderloins?
Quick marinades include lemon-garlic, honey-mustard, and herb-based. These add great flavor in just minutes.
How do I prevent chicken tenderloins from drying out?
Use marinating, cook at the right temperature, and avoid overcooking. Letting the meat rest after cooking helps too. A meat thermometer and high heat cooking maintain moisture.
Can I use chicken tenderloins in meal prep?
Absolutely! They’re perfect for meal prep. Cook them in batches, store in the fridge for 3-4 days, and use in various meals. Their quick cooking and versatility make them great for planning meals.
What are some kid-friendly chicken tenderloin recipes?
Kid-friendly options include homemade chicken nuggets, honey garlic chicken, parmesan-crusted tenders, and crispy baked ones. These are mild, crunchy, and easy for kids to enjoy.