Ingredients
- 1 lb chicken tenders
- 1 cup breadcrumbs
- 1/2 cup grated Parmesan cheese
- 1 teaspoon garlic powder
- 1 teaspoon paprika
- 1/2 teaspoon salt
- 1/4 teaspoon black pepper
- 2 eggs, beaten
- 1 tablespoon olive oil
Instructions
Preheat your oven to 400°F (200°C). In a shallow dish, combine breadcrumbs, Parmesan cheese, garlic powder, paprika, salt, and pepper. Dip each chicken tender into the beaten eggs, then coat with the breadcrumb mixture. Place the chicken tenders on a baking sheet lined with parchment paper. Drizzle with olive oil. Bake for 18-20 minutes, flipping halfway through until golden brown and crispy. Serve with your favorite dipping sauce and enjoy!
Notes
You can substitute the breadcrumbs for panko crumbs for an extra crispy coating. Add a drizzle of honey mustard or ranch for dipping.
Table of Contents

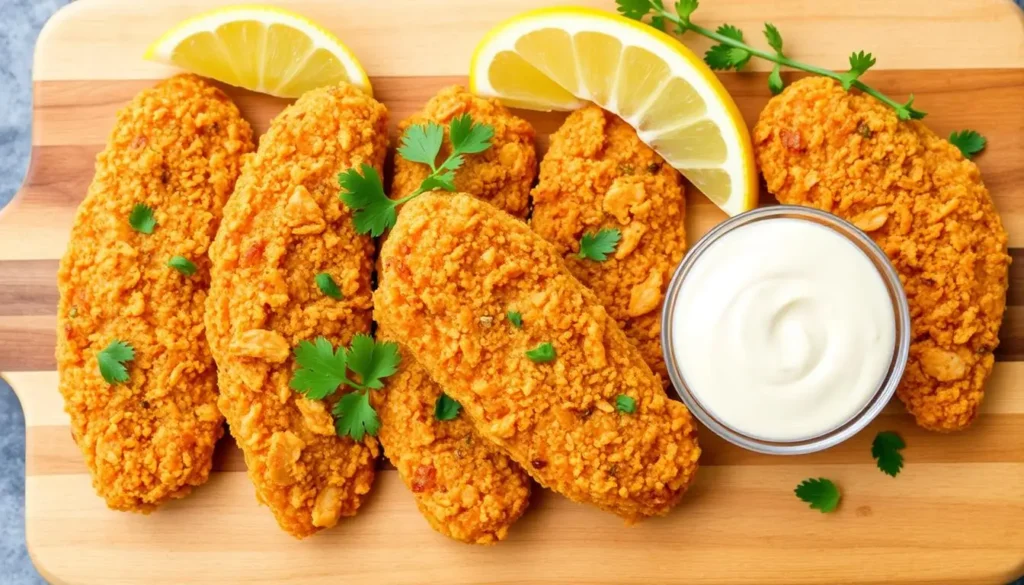
Ever wondered how to make crispy chicken tenders like restaurants at home? No need for greasy deep-frying or hard cooking methods. This recipe uses a simple baking method to bring out great flavor and crunch.
Thank you for reading this post, don't forget to subscribe!Crispy chicken tenders are more than just food. They’re a hit with everyone, combining tender meat with a crunchy outside. Perfect for pleasing kids or a casual dinner, this recipe boosts your cooking skills quickly.
Baking chicken tenders is not just easy. It’s also healthier, using less oil but keeping the taste and texture amazing. With some expert tips, you’ll make crispy chicken tenders that everyone will love.
Key Takeaways
- Learn a foolproof method for crispy chicken tenders
- Discover healthier baking techniques
- Create restaurant-quality meals at home
- Master simple coating and seasoning methods
- Enjoy a versatile recipe adaptable to different diets
Introduction to Baked Chicken Tenders
Chicken tenders are loved by people of all ages. They offer a tasty and flexible meal choice. Baked chicken tenders are now a favorite, thanks to growing health-conscious cooking trends.
Healthy chicken tenders are more than just food. They’re a smart choice that combines good nutrition with great taste. These tender chicken pieces are a protein-rich option for families wanting quick, healthy meals.
What Makes Chicken Tenders a Popular Choice?
- Quick and easy to prepare
- Appealing to both children and adults
- Versatile for multiple meal types
- Customizable with various seasonings
Baked chicken tenders are a great choice for a healthier meal. They keep the chicken tender while cutting down on oil and calories.
Benefits of Baking Over Frying
| Baking Method | Frying Method |
|---|---|
| Lower calorie content | Higher fat absorption |
| Retains more nutrients | Potential nutrient loss |
| Less oil consumption | Significant oil usage |
Choosing to bake your chicken tenders makes for a crispy and delicious meal. It’s full of flavor and doesn’t lose out on nutrition. The right baking technique can make the outside golden and crispy, just like fried ones.
“Healthy eating doesn’t mean sacrificing flavor – it’s about making smarter cooking choices.” – Culinary Nutrition Expert
Ingredients You’ll Need
Making tasty breaded chicken tenders begins with picking the right ingredients. Your recipes will stand out with the right choices. Choose fresh, quality ingredients to elevate your meal.
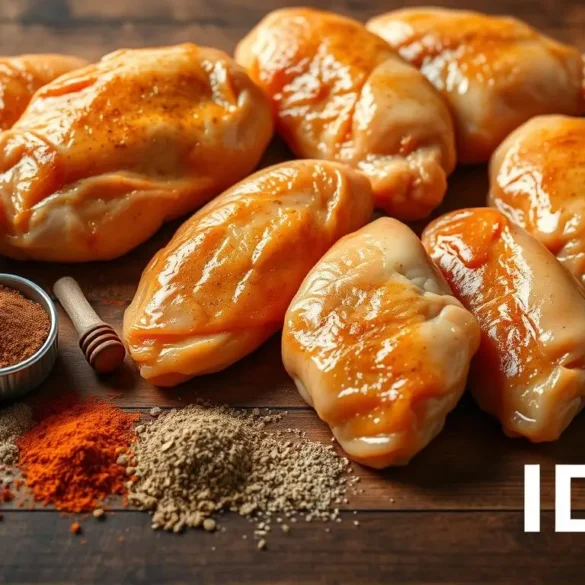
Fresh Chicken Selects
Choosing the right chicken is key for your tenders. Look for:
- Fresh, plump chicken tenderloins
- Tender meat with minimal visible fat
- Bright white or pale pink coloration
- Firm texture without any sliminess
Coating Options for Crispy Perfection
Your coating is crucial for crispy tenders. Try these tasty options:
| Coating Type | Texture | Flavor Profile |
|---|---|---|
| Panko Breadcrumbs | Extra Crispy | Neutral, Light |
| Almond Flour | Crunchy | Nutty, Low-Carb |
| Crushed Cornflakes | Golden Crisp | Slightly Sweet |
Seasonings to Elevate Your Flavor
Add flavor to your tenders with these seasonings:
- Garlic Powder – Adds depth and aroma
- Paprika – Provides color and mild heat
- Dried Herbs – Thyme, oregano, or basil
- Salt and black pepper to taste
Pro tip: Always taste your seasoning mix before coating. This ensures the perfect flavor in your chicken tenderloin recipes.
Preparing the Chicken Tenders
Starting an easy chicken tender recipe means getting the chicken ready right. It’s important to handle raw chicken safely and correctly. Make sure your chicken is clean, cut right, and ready for marinating before cooking.
Here are key steps to make sure your chicken tenders are delicious and safe:
- Wash your hands well before and after touching raw chicken
- Use a clean cutting board only for raw meats
- Rinse chicken tenders under cold water
- Pat dry with paper towels to get rid of extra moisture
How to Properly Clean and Cut Chicken
When cleaning and cutting chicken for your recipe, be precise. Take off any fat or tough parts from the tenders. If there’s a white tendon, use kitchen tweezers to carefully remove it.
The Importance of Marinating
Marinating makes chicken tenders taste amazing. A good marinade not only adds flavor but also makes the meat tender. Here are some marinade ideas:
| Marinade Type | Key Ingredients | Flavor Profile |
|---|---|---|
| Buttermilk | Buttermilk, salt, pepper | Tangy, mild |
| Herb Blend | Olive oil, rosemary, thyme | Aromatic, Mediterranean |
| Spicy Kick | Hot sauce, garlic, paprika | Bold, zesty |
For the best taste, marinate chicken tenders for 30 minutes to 2 hours before cooking. This lets the flavors soak in and keeps the meat tender.
Making the Perfect Coating
Creating the perfect coating is key for deliciously crispy chicken tenders. The right breading can turn simple breaded chicken tenders into a dish everyone will enjoy.
Crafting the Ultimate Crunchy Breading
To achieve crispy chicken tenders, focus on a few important techniques:
- Use panko breadcrumbs for maximum crunchiness
- Season your breading mix generously with herbs and spices
- Ensure a thick, even coating on each chicken tender
- Press the breading firmly to help it stick
Eggs or Buttermilk: Choosing the Best Binding Agent
When making the perfect base for your breaded chicken tenders, you have two main choices:
- Eggs:
- Creates a sticky surface for breading
- Provides good adhesion
- Works well with most breadcrumb types
- Buttermilk:
- Adds extra flavor and tenderness
- Helps tenderize the chicken
- Creates a slightly tangy coating
Pro tip for crispy chicken tenders: Whichever binding agent you choose, let the chicken rest after coating. This helps the breading set properly, making your chicken tenders irresistibly crunchy.
Baking Methods
Making the best baked chicken tenders needs careful cooking. The right method can turn simple chicken into a crispy, tasty dish that everyone will enjoy.
The baking process is key to getting a crispy outside and juicy inside. Learning the best techniques will improve your cooking at home.
Recommended Oven Temperature for Perfect Results
The best oven temperature for baking chicken tenders is between 400-425°F. This temperature gives a golden-brown crust and keeps the inside juicy.
- Preheat your oven to 425°F for maximum crispiness
- Use a baking sheet lined with parchment paper
- Arrange chicken tenders in a single layer
Mastering Cooking Spray for Ultimate Crispiness
Cooking spray is a game-changer for baked chicken tenders. A light, even coat helps get that crispy outside without too much oil.
| Spray Technique | Benefit |
|---|---|
| Light Misting | Enhances crispiness without adding calories |
| Even Coverage | Ensures uniform browning |
| Pre-Spray Breading | Helps breading adhere better |
Pro tip: For extra crunch, try using a light coating of olive oil cooking spray before baking your chicken tenders.
Trying different baking methods can help you find the best way to make homemade baked chicken tenders. Remember, every oven is a bit different. So, don’t be afraid to adjust and find what works best for you.
Cooking Time and Techniques
Getting the cooking time right for chicken strips is key to making them tasty and safe. The right method makes them crispy outside and juicy inside.

Cooking chicken strips needs careful attention. You want a golden-brown outside and a tender inside.
When to Check for Doneness
There are a few ways to check if your chicken strips are done:
- Use a meat thermometer to ensure internal temperature reaches 165°F
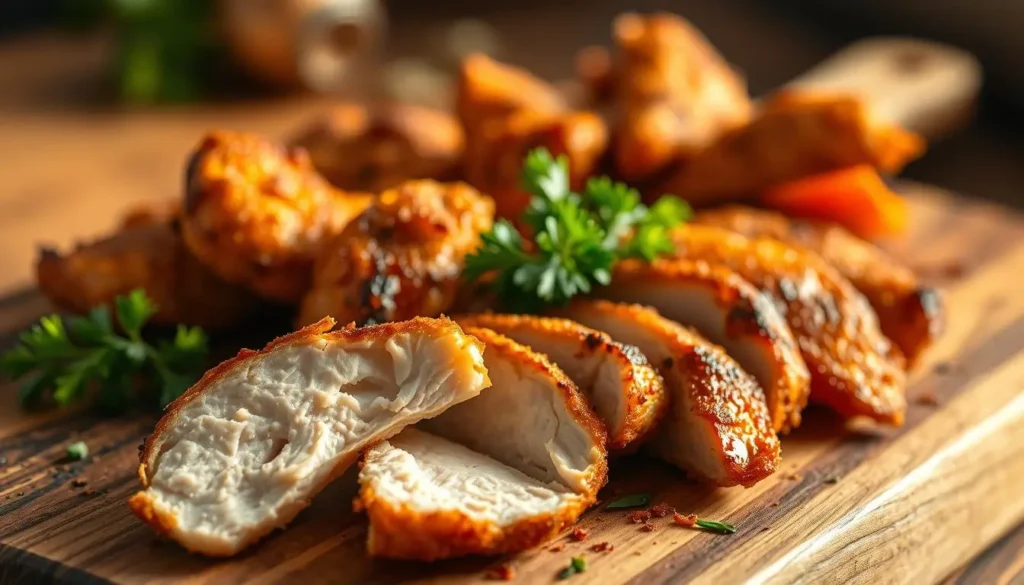
- Look for a consistent golden-brown color across the entire surface
- Check that juices run clear when pierced
Signs Your Chicken Tenders Are Ready
Knowing when chicken strips are cooked involves a few signs:
| Indicator | What to Look For |
|---|---|
| Color | Uniform golden-brown exterior |
| Texture | Crisp coating, moist interior |
| Temperature | 165°F at thickest point |
Pro tip: Let your chicken strips rest for 3-5 minutes after cooking to lock in moisture and ensure even distribution of juices.
By following these tips, you’ll make chicken strips that are both safe and delicious. Remember, practice makes perfect with this recipe!
Serving Suggestions
Your easy chicken tender recipe needs the right sides to make it special. The perfect dipping sauces and side dishes can turn a simple meal into a family favorite. It’s all about the details that make a difference.
Delicious Dipping Sauces
Make your chicken tenders even more exciting with these tasty dips:
- Classic Ranch: Creamy and tangy, loved by all ages
- Spicy Sriracha Mayo: For those who like a little heat
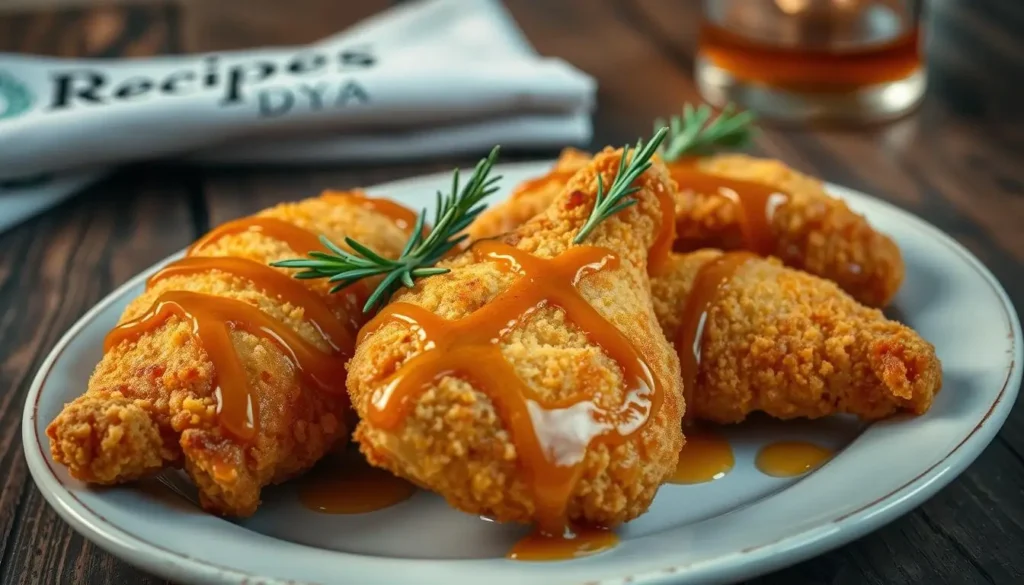
- Honey Mustard: A sweet and zesty mix
- BBQ Sauce: Smoky and rich, perfect for outdoor meals
Complementary Side Dishes
Complete your meal with these tasty sides:
- Crispy Sweet Potato Fries
- Fresh Garden Salad
- Roasted Vegetable Medley
- Creamy Coleslaw
For the best chicken tenders, mix flavors and textures. Try different sauces and sides to find your favorite!
Storing Leftovers
Keeping your homemade chicken tenders tasty and crispy is key. You need to store and reheat them right. This way, you can enjoy them again and again.
Best Refrigeration Practices
Here’s how to store your crispy chicken tenders:
- Cool the chicken tenders completely before storing
- Place in an airtight container
- Refrigerate within 2 hours of cooking
- Store for no more than 3-4 days
Reheating for Maximum Crispiness
Don’t use the microwave to reheat. It can make your chicken tenders soggy. Try these methods instead:
- Oven method:
- Preheat to 375°F
- Place tenders on a wire rack
- Bake for 10-12 minutes
- Air fryer method:
- Set temperature to 350°F
- Cook for 3-4 minutes
- Shake basket midway
These methods will keep your chicken tenders crispy. They prevent them from becoming soggy or dry.
Pro tip: Add a light spray of olive oil before reheating to enhance crispiness.
Flavor Variations
Turning basic chicken tenderloin recipes into amazing dishes is simple. Just try out different flavors. This way, you can make a simple meal into something exciting that everyone loves.

Trying new flavors can make your chicken tenderloin recipes come alive. It’s all about knowing how different ingredients can change the taste.
Adding Cheese for a Rich Twist
Cheese can make your chicken tenders truly special. Here are some tasty cheese options for your chicken tenderloin recipes:
- Parmesan crusted with garlic herb blend
- Cheddar-coated tenders with a crispy exterior
- Pecorino Romano with cracked black pepper
“The secret to great chicken tenders is creativity in your coating!” – Professional Chef
Incorporating Herbs and Spices
Herbs and spices are your secret tools for changing chicken tenderloin recipes. Each mix can take your taste buds on a new journey.
- Mediterranean Style: Oregano, thyme, and rosemary
- Southwestern Kick: Chili powder, cumin, and smoked paprika
- Asian-Inspired: Ginger, garlic, and five-spice powder
Trying out these flavor changes will keep your chicken tenderloin recipes fresh and exciting. Don’t hesitate to mix and match – your taste buds will love it!
Nutritional Information
Making healthy chicken tenders doesn’t mean you have to give up taste. Knowing what’s in your homemade baked chicken tenders helps you make better food choices. This way, you can enjoy a tasty meal that’s also good for you.
Calorie Breakdown and Nutritional Insights
Baked chicken tenders are much better for you than fried ones. A serving of baked chicken tenders usually has:
- Calories: 180-220 per serving
- Protein: 20-25 grams
- Total Fat: 5-8 grams
- Carbohydrates: 10-15 grams
Smart Ingredient Alternatives
Make your chicken tenders even healthier with smart ingredient swaps:
- Whole Wheat Breadcrumbs: Use whole wheat breadcrumbs for more fiber
- Almond Flour: It’s lower in carbs and has more protein
- Greek Yogurt Marinade: It adds protein and cuts down on fat
Choosing the right ingredients can turn regular chicken tenders into a healthy meal. This way, you can reach your health goals without losing flavor.
Common Mistakes to Avoid
Making perfect chicken tenders needs focus and knowing common mistakes. Even skilled cooks can mess up, making the chicken dry and tasteless.
When you’re cooking chicken tenders, some mistakes can ruin them. Knowing these errors will help you make crispy, juicy chicken tenders every time.
Recognizing the Signs of Overbaking
Overbaking is a big problem that can mess up your chicken tenders. Look out for these signs:
- Extremely dry and tough meat texture
- Dark brown or blackened edges
- Crumbly, hard breading
- Significant shrinkage of the chicken
To avoid overbaking, use a meat thermometer. Chicken tenders should be 165°F (74°C) inside, but not over that.
Getting the Coating Thickness Just Right
The breading’s thickness is crucial for your chicken tenders. Too thin, and they won’t be crispy; too thick, and they cook unevenly.
- Aim for a thin, even layer of coating
- Use a light hand when applying breading
- Shake off excess breading before baking
- Consider using a wire rack for more even coating
Pro tip: Pat your chicken tenders dry before coating. This helps the breading stick better and makes the texture more even.
Tips for Customizing Your Recipe
Creating versatile healthy chicken tenders means adapting to different dietary needs. You can modify your favorite chicken tenderloin recipes to fit various nutritional requirements. This way, you don’t have to give up on flavor or texture.
Making Gluten-Free Chicken Tenders
It’s easy to turn traditional chicken tenders into a gluten-free option. Here are some alternative coating options:
- Almond flour for a nutty, crisp texture
- Coconut flour for a light, crunchy breading
- Crushed gluten-free cornflakes for extra crispiness
- Quinoa flour for added protein
Low-Sodium Flavor Boosters
Reducing sodium doesn’t mean you have to lose flavor in your healthy chicken tenders. Try these flavor-enhancing alternatives:
- Fresh herb blends like rosemary, thyme, and parsley
- Citrus zest for brightness
- Garlic powder and onion powder
- Smoked paprika for depth
Try these customization techniques to make chicken tenderloin recipes that fit your dietary needs. This way, you can keep meals delicious and nutritious.
Conclusion: Enjoying Your Homemade Chicken Tenders
Making the perfect chicken strips recipe is an art that gets better with time. Your kitchen adventures with air fryer chicken tenders can turn simple ingredients into tasty meals. Each time you cook these crispy delights, you’ll find new ways to make it enjoyable.
Trying out different seasonings and coatings can help you find your own cooking style. Whether you like classic breadcrumbs or want to try gluten-free options, the possibilities are endless. Your creativity can make a simple dish into a gourmet meal that shows off your taste.
Encouragement to Experiment with Flavors
Don’t be afraid to try new things with your chicken strips recipe. Experiment with international spice blends, herb-infused coatings, or unique marinades. Using an air fryer can help you get crispy results with less oil, making your cooking healthier and more fun.
Share Your Own Variations and Experiences
Cooking is a journey of learning and sharing. We encourage you to share your unique chicken tender creations with others. Your creative ideas and personal touches can inspire others to try new cooking techniques and flavors.
FAQ
How long do baked chicken tenders take to cook?
Baked chicken tenders usually take 15-20 minutes at 400°F (204°C). The exact time depends on their thickness. Always check they reach 165°F (74°C) for safety.
Can I make chicken tenders gluten-free?
Yes, you can! Use gluten-free coatings like almond flour or gluten-free breadcrumbs. They add crunch without gluten.
What’s the best way to keep chicken tenders crispy?
For crispiness, use a wire rack and spray with cooking spray. Preheat your oven well. Don’t overcrowd the baking sheet to avoid steam.
How do I store leftover chicken tenders?
Cool chicken tenders and store them in an airtight container for 3-4 days. Reheat in the oven or air fryer for crispiness. Avoid the microwave.
Can I use frozen chicken tenders for this recipe?
Yes, but thaw them first. Pat dry with paper towels for a crispier coating. Thawing in the fridge is safest.
What are some healthy dipping sauce alternatives?
Try Greek yogurt dips, homemade salsa, or avocado crema. They’re flavorful and lower in fat than traditional sauces.
How can I make the chicken tenders spicier?
Add cayenne pepper or hot paprika to your breading. Mix hot sauce with your egg wash for extra heat.
Are air fryer chicken tenders different from oven-baked?
Air fryer tenders cook faster and get crisper. They need 10-12 minutes and less oil than oven-baked.


